LacePal
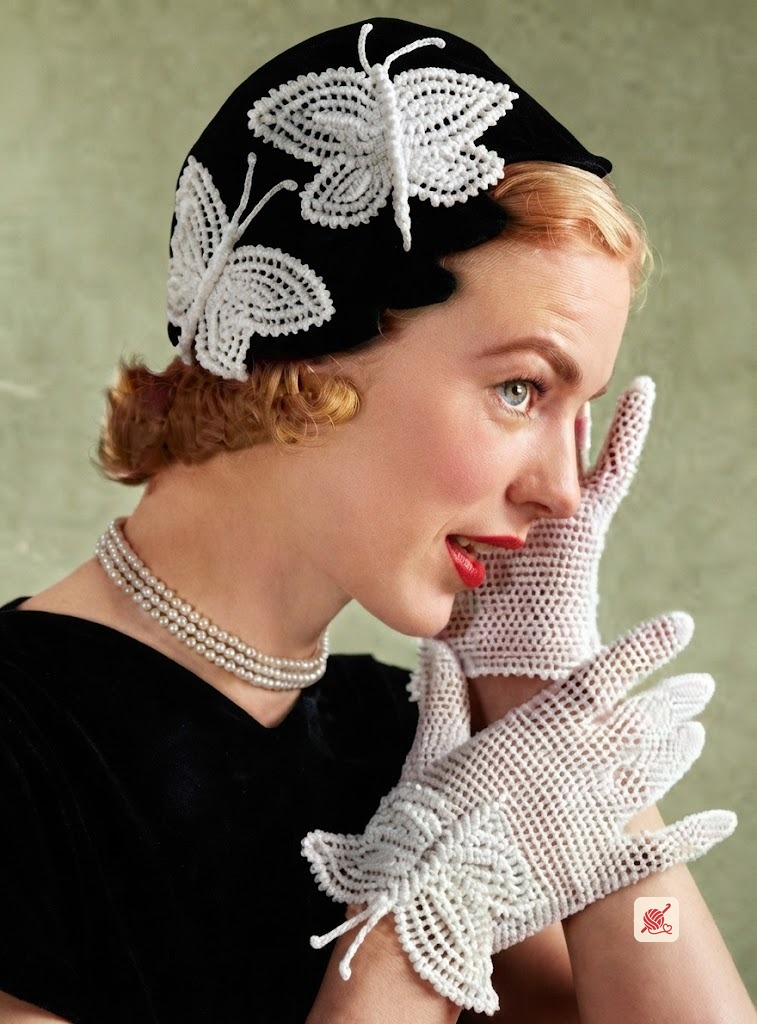
Butterfly Hat & Gloves Patterns #S-36
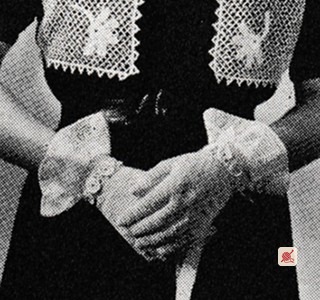
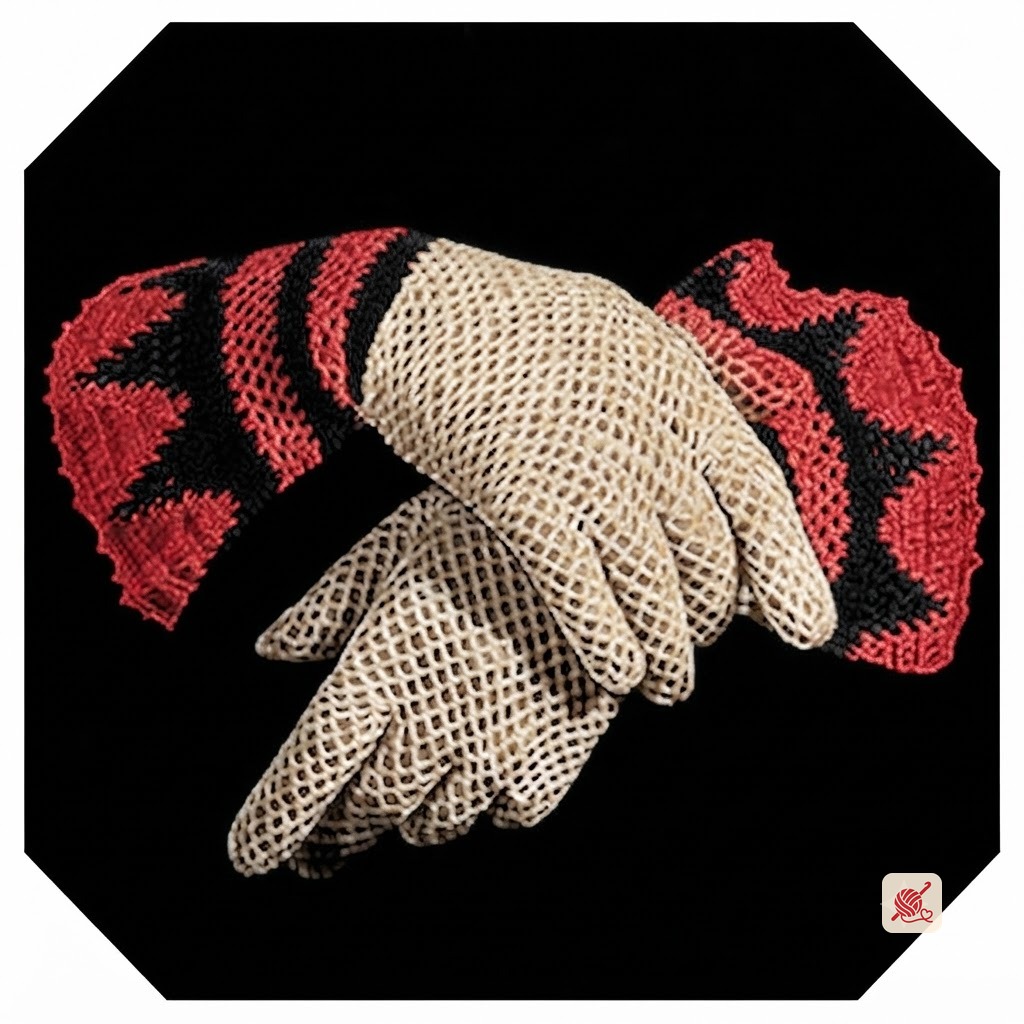
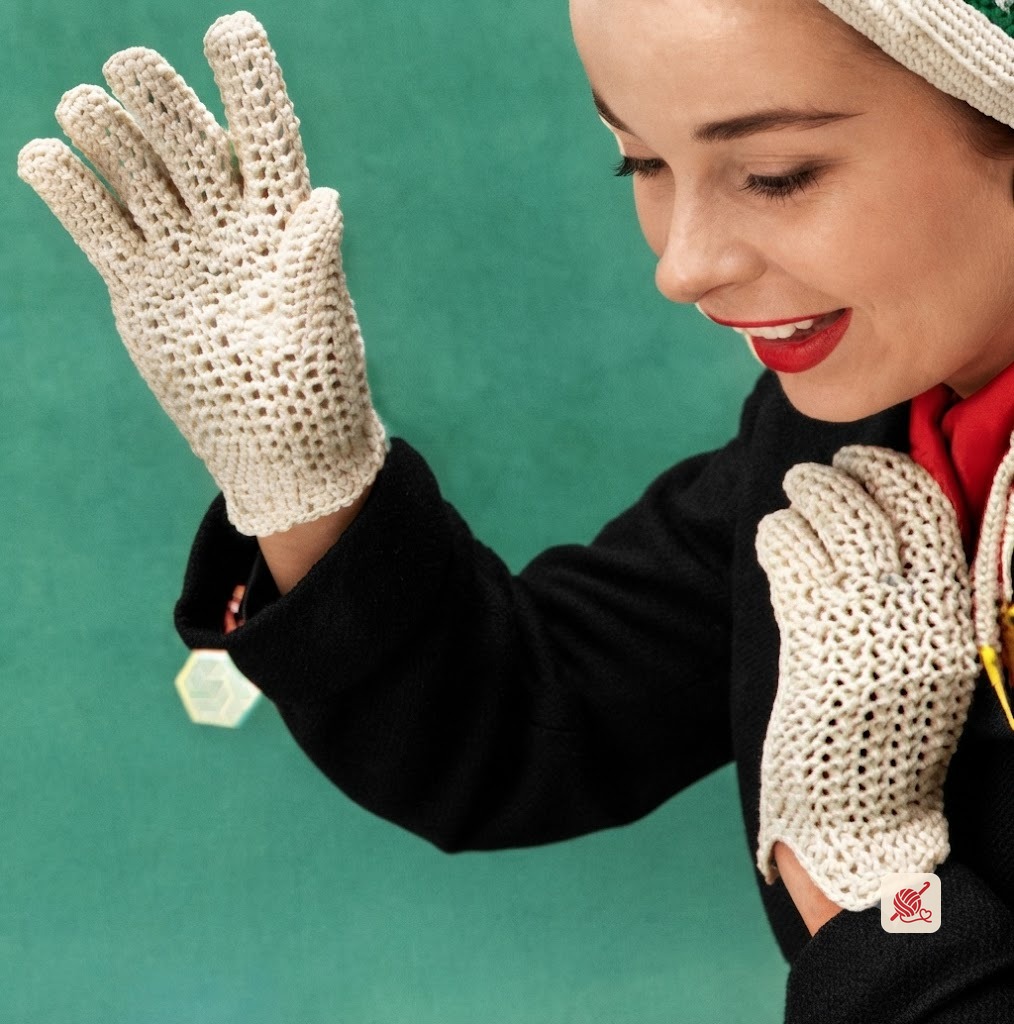
Mesh crochet gloves with a butterfly applique, sized Small/Medium/Large, plus butterflies to sew onto a black velvet cloche. Originally published in Spool Cotton #272, Butterflies in Crochet.
Materials
- Milwards Steel Crochet Hook · No. 10
Pattern instructions
Materials Note
J. & P. Coats or Clark's O.N.T. Best Six Cord Mercerized Crochet, Size 30: SMALL BALL: J. & P. COATS - 3 balls of White or Ecru, or 4 balls of any color, or CLARK'S O.N.T. - 4 balls of White or Ecru, or 6 balls of any color, or BIG BALL: J. & P. COATS - 2 balls of White or Ecru, or 3 balls of any color. Milwards Steel Crochet Hook No. 10. A black velvet cloche.
GLOVES — SIZES SMALL, MEDIUM, LARGE.
Left Glove Little Finger
LEFT GLOVE— Little Finger ... Starting at tip, ch 4.
Make 11 dc (Small) / 12 dc (Medium) / 13 dc (Large) in 4th ch from hook. Join with sl st to top of starting chain.
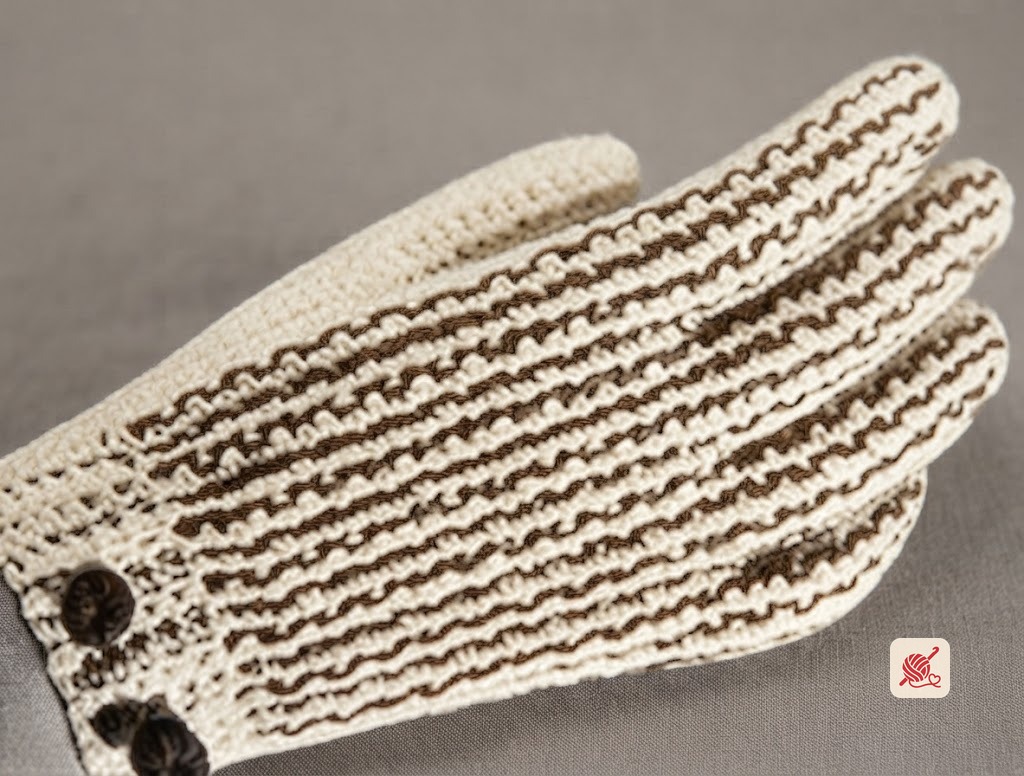
Ch 4, * dc in next dc, ch 1. Repeat from * around. Join last ch-1 to 3rd ch of ch-4.
Sl st in next sp, ch 4, * dc in next sp, ch 1. Repeat from * around. Join.
Repeat 3rd rnd until 12 rnds (Small) / 13 rnds (Medium) / 14 rnds (Large) are completed. Join and break off.
Left Glove Ring Finger
RING FINGER ... Starting at tip, ch 4.
Make 12 dc (Small) / 13 dc (Medium) / 14 dc (Large) in 4th ch from hook. Join. Work as for Little Finger until 14 rnds (Small) / 15 rnds (Medium) / 16 rnds (Large) are completed. Break off.
Left Glove Middle Finger
MIDDLE FINGER ... Starting at tip, ch 4.
Make 13 dc (Small) / 14 dc (Medium) / 15 dc (Large) in 4th ch from hook. Join. Work as for Little Finger until 16 rnds (Small) / 17 rnds (Medium) / 18 rnds (Large) are completed. Break off.
Left Glove Index Finger
INDEX FINGER ... Work exactly as for Ring Finger.
Left Glove Thumb
THUMB ... Starting at tip, ch 4.
Make 16 dc (Small) / 17 dc (Medium) / 18 dc (Large) in 4th ch from hook. Join. Work as for Little Finger until 12 rnds (Small) / 13 rnds (Medium) / 14 rnds (Large) are completed. Break off.
Joining Of Fingers
Sew the Ring Finger, the Middle Finger and the Index Finger together at base, joining a dc to a sp on following finger and leaving the same amount of sps free on both sides of joining.
Palm And Back
PALM AND BACK ... 1st rnd: Attach thread to first free sp on inside edge of Index Finger and work in sp pattern across each finger; now continue working in pattern across Back and join to first sp. There should be 40 sps (Small) / 43 sps (Medium) / 46 sps (Large).
Work in pattern around. Join. Now sew Little Finger in place. There should be 52 sps (Small) / 56 sps (Medium) / 60 sps (Large).
Work in pattern around, making sps over Little Finger as for other fingers. Work in pattern for more rnds (Medium: 6 more rnds; other sizes as given in size columns).
Sew Thumb in place and continue to work in sp pattern over Thumb sps.
Mark the 2 sps directly above joining of Thumb on both sides of glove. Work in pattern to within the 2 marked sps, ch, holding back on hook the last loop of each dc, make dc in each of next 2 sps, thread over and draw through all loops on hook (1 sp decreased). Complete rnd, decreasing 1 sp over next 2 marked sps (this starts thumb gore). Now work in pattern for 2 more rnds, decreasing 1 sp directly over each previous decrease made.
Mark the 2 sps directly between Thumb decreases and the 2 sps on outer edge of Little Finger side of glove. Continue to work in pattern, decreasing 1 sp over each dec and over the marked sps as before. Continue to work in pattern, making decreases over the 4 established points until 9 rnds are completed from first dec rnd. Break off.
Now shape lower edge as follows: more times (Small) / 3 more times (Medium) / 4 more times (Large).
Mark the center sp of last rnd at back of glove. Attach thread to 7th sp to the left of marked sp, ch 4 and work in pattern to within 6 sps preceding marked sp. Turn.
Sl st in next sp, ch 4, * dc in next sp, ch 1. Repeat from * across, ending with dc in last sp. Turn. Repeat 2nd row more times as directed for size.
EDGING ... * 2 sc in next sp, ch 3, sc in 3rd ch from hook (picot made). Repeat from * around entire lower edge. Join and break off.
Butterfly Large Wing
BUTTERFLY - Large Wing (Make 2) ... Starting at center, ch 13.
Dc in 4th ch from hook and in each of next 7 ch, half dc in next ch, in next ch make sc, ch 3 and sc. Now, working across opposite side of starting chain, make half dc in next ch, dc in each remaining chain across. Ch 3, turn.
Skip first dc, dc in each st to ch-3 loop at tip, in ch-3 loop make 3 dc, ch 3 and 3 dc; dc in each remaining st across and in top of turning chain. Ch 1, turn.
Sc in each dc across, making 2 sc, ch 3 and 2 sc in sp at tip. Ch 4, turn.
* Skip 1 sc, dc in next sc, ch 1. Repeat from * across, making dc, ch 1, dc, ch 3, dc, ch 1 and dc in loop at tip. Ch 1, turn.
2 sc in each sp across, making 2 sc, ch 3 and 2 sc in sp at tip. Ch 5, turn.
* Skip 1 sc, dc in next sc, ch 2. Repeat from * across, making dc, ch 2, dc, ch 3, dc, ch 2 and dc in loop at tip. Ch 1, turn.
3 sc in each sp across, making 3 sc, ch 3 and 3 sc in sp at tip. Ch 5, turn.
Repeat 6th row.
* Make 3 sc in next sp, ch 3, sc in 3rd ch from hook (picot made). Repeat from * across, ending with 3 sc in last sp. Break off.
Butterfly Small Wing
SMALL WING (Make 2) ... Work as for Large Wing until 6 rows are completed.
Repeat 9th row of Large Wing.
Butterfly Body
BODY ... Starting at one end, ch 11.
Sc in 2nd ch from hook and in each ch across. Ch 1, turn. Hereafter pick up back loop only of each sc.
2 sc in first sc, sc in next 7 sc, work off last 2 sc as 1 sc. Ch 1, turn.
Work off first 2 sc as 1 sc, sc in next 7 sc, 2 sc in last sc. Ch 1, turn. Repeat 2nd and 3rd rows alternately until piece measures 3 inches. Break off.
Butterfly Antennae
ANTENNAE ... Ch 50, sc in 2nd ch from hook and in each ch across. Break off.
Butterfly Assembly
Shirr the straight ends of Wings tightly. Place the shirred end of one large wing over the shirred end of small wing as in illustration and sew in place. Sew two remaining wings together the same way. Sew the shirred edges of the 2 pairs of wings together at center.
Sew the two long ends of body together, stuffing with several strands of thread and making sure to keep one end of body pointed. Sew body in place over joined wings, having pointed end of body even with bottom edge of small wings.
Roll and sew ends of Antennae to form small knobs. Double this piece and sew in place under upper part of body.
Starch lightly and press. Sew Butterfly in place on back of glove.
Right Glove
RIGHT GLOVE ... Make another Glove the same way, reversing it to fit Right Hand.
Hat
HAT ... Make 4 Butterflies as before and sew 2 to each side of hat.