LacePal
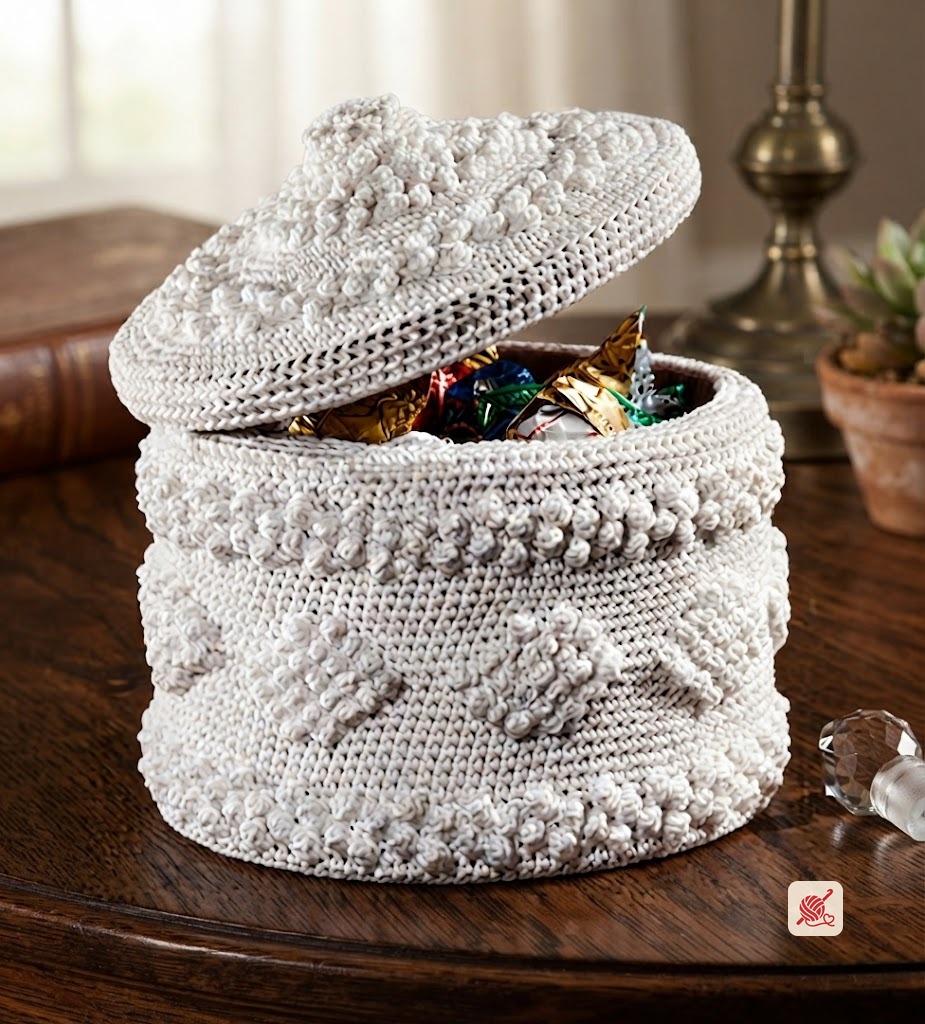
Milk Glass Dish Pattern
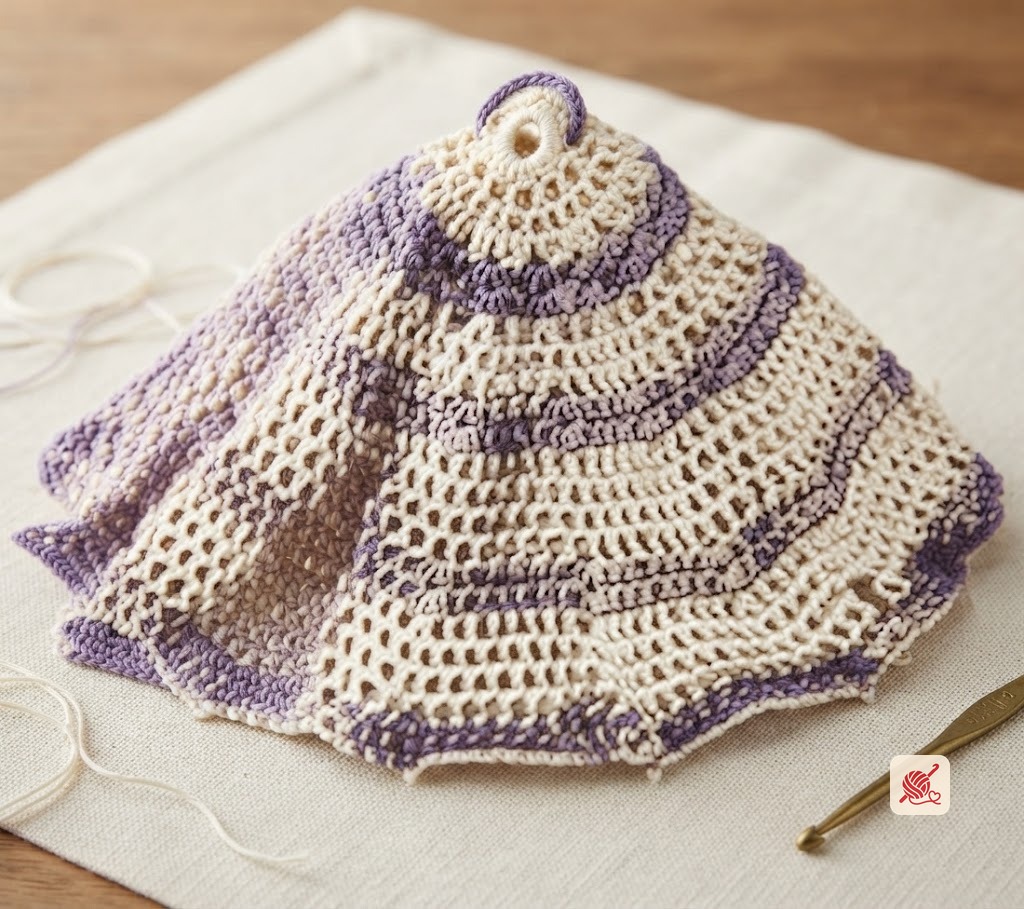
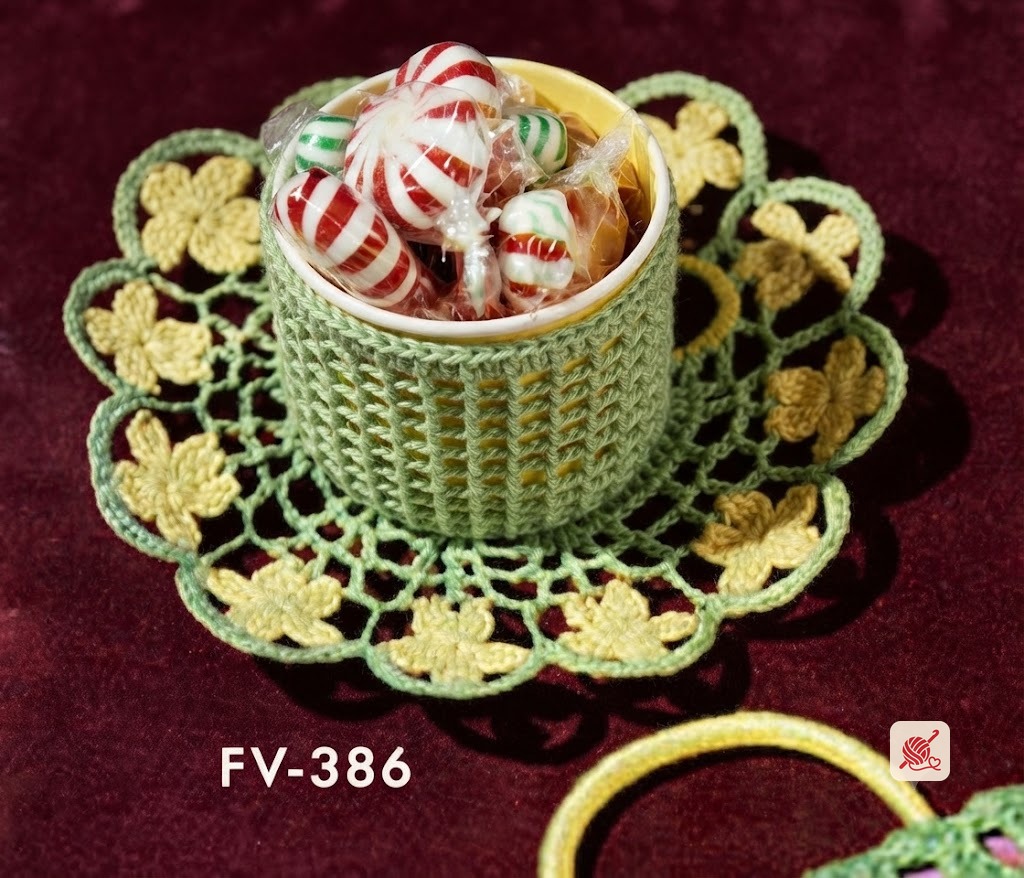
Crocheted milk-glass style cover for a 1 lb. coffee can with popcorn-stitch sides and a stuffed lid, worked in white Knit-Cro-Sheen. Originally published in Coats & Clark's #141, Jiffy Gifts.
Materials
- Milwards Steel Crochet Hook · No. 7
Pattern instructions
Base
Starting at center, ch 5. Join with sl st to form ring.
8 sc in ring. Do not join rnds, but mark last st of each rnd for easy counting.
2 sc in each sc around—16 sc.
* Sc in next sc, 2 sc in next sc—1 sc increased. Repeat from * around—24 sc.
* Sc in next 2 sc, 2 sc in next sc. Repeat from * around—32 sc.
Sc in each sc around.
Sc in each sc around, increasing 8 sc evenly spaced and being careful increases do not fall over increases of previous rnd.
Repeat 5th, 6th and 7th rnds until there are 128 sc on round. If necessary, work even over these sts until piece measures 5 inches in diameter. Join with sl st to next sc.
Side
Picking up back loop only throughout, sc in each sc around. Do not join rnds but mark last st of each rnd.
Working through both loops, sc in each sc around.
* Sc in next 3 sts, 5 sc in next sc, drop loop from hook, insert hook from front to back in first sc of the 5-sc group and draw dropped loop through, ch 1 to fasten—pc st made. Repeat from * around.
* Sc in next sc, pc st in next sc, sc in next sc, sc in fastening ch of next pc st. Repeat from * around.
* Sc in next sc, sc in fastening ch of next pc st, sc in next sc, pc st in next sc. Repeat from * around.
Repeat 4th rnd.
Sc in each sc and in fastening ch of each pc st around.
Sc in each sc around.
Sc in each sc around, decreasing 2 sc evenly spaced—126 sc.
Sc in next 5 sc, * pc st in next sc, sc in next sc, pc st in next sc, sc in next 11 sc. Repeat from * around, ending with sc in last 6 sc.
Sc in first 4 sc, * (pc st in next sc, sc in fastening ch of next pc st) twice; pc st in next sc, sc in next 9 sc. Repeat from * around, ending with sc in last 5 sc.
Sc in first 3 sc, * (pc st in next sc, sc in fastening ch of next pc st) 3 times; pc st in next sc, sc in next 7 sc. Repeat from * around, ending with sc in last 4 sc.
Sc in first 2 sc, * (pc st in next sc, sc in fastening ch of next pc st) 4 times; pc st in next sc, sc in next 5 sc. Repeat from * around, ending with sc in last 3 sc.
Sc in first 2 sc, * (sc in fastening ch of next pc st, pc st in next sc) 4 times; sc in fastening ch of next pc st, sc in next 5 sc. Repeat from * around, ending with sc in last 3 sc.
Sc in first 3 sc, * (sc in fastening ch of next pc st, pc st in next sc) 3 times; sc in fastening ch of next pc st, sc in next 7 sc. Repeat from * around, ending with sc in last 4 sc.
Sc in first 4 sc, * (sc in fastening ch of next pc st, pc st in next sc) twice; sc in fastening ch of next pc st, sc in next 9 sc. Repeat from * around, ending with sc in last 5 sc.
Sc in each sc and in fastening ch of each pc st around, increasing 2 sts evenly spaced—128 sc.
Sc in each sc around.
Repeat 3rd through 7th rnd of Side.
Repeat 8th rnd of Side. At end of 31st rnd join with sl st to next sc. Break off and fasten.
Draw elastic through the sts of last rnd. Fasten. Place cover over coffee can.
Lid
Starting at center, ch 5. Join with sl st to form ring.
6 sc in ring. Do not join rnds but mark last st of each rnd.
2 sc in each sc around—12 sc.
Sc in each sc around.
Pc st in each sc around—12 pc sts.
2 sc in fastening ch of each pc st around—24 sc.
* Sc in next sc, pc st in next sc. Repeat from * around.
Sc in each sc and in fastening ch of each pc st around.
* Pc st in next sc, sc in next sc. Repeat from * around.
* Sc in fastening ch of next pc st, 2 sc in next sc. Repeat from * around—36 sc.
Repeat 8th rnd—18 pc sts.
* Sc in fastening ch of next pc st, sc in next sc, 2 sc in fastening ch of next pc st, sc in next sc, sc in fastening ch of next pc st, 2 sc in next sc. Repeat from * around—48 sc.
Repeat 8th rnd—24 pc sts.
Repeat 7th rnd of Side.
* Sc in next 3 sc, 2 sc in next sc. Repeat from * around—60 sc.
Sc in each sc around.
Sc in each sc around, increasing 10 sc evenly spaced—80 sc at end of 17th rnd.
Repeat 3rd, 4th and 3rd rnds of Side.
* Sc in next sc, pc st in next sc, sc in next sc, 2 sc in fastening ch of next pc st. Repeat from * around.
Sc in each sc and in fastening ch of each pc st around, increasing 20 sc evenly spaced—120 sc.
Sc in each sc around. At end of last rnd join with sl st to next sc. Break off and fasten.
Draw elastic through the sts of last rnd. Fasten. Stuff center with cotton and place over lid of coffee can. Sew lid to cover at top edge for 1/2 inch.