LacePal
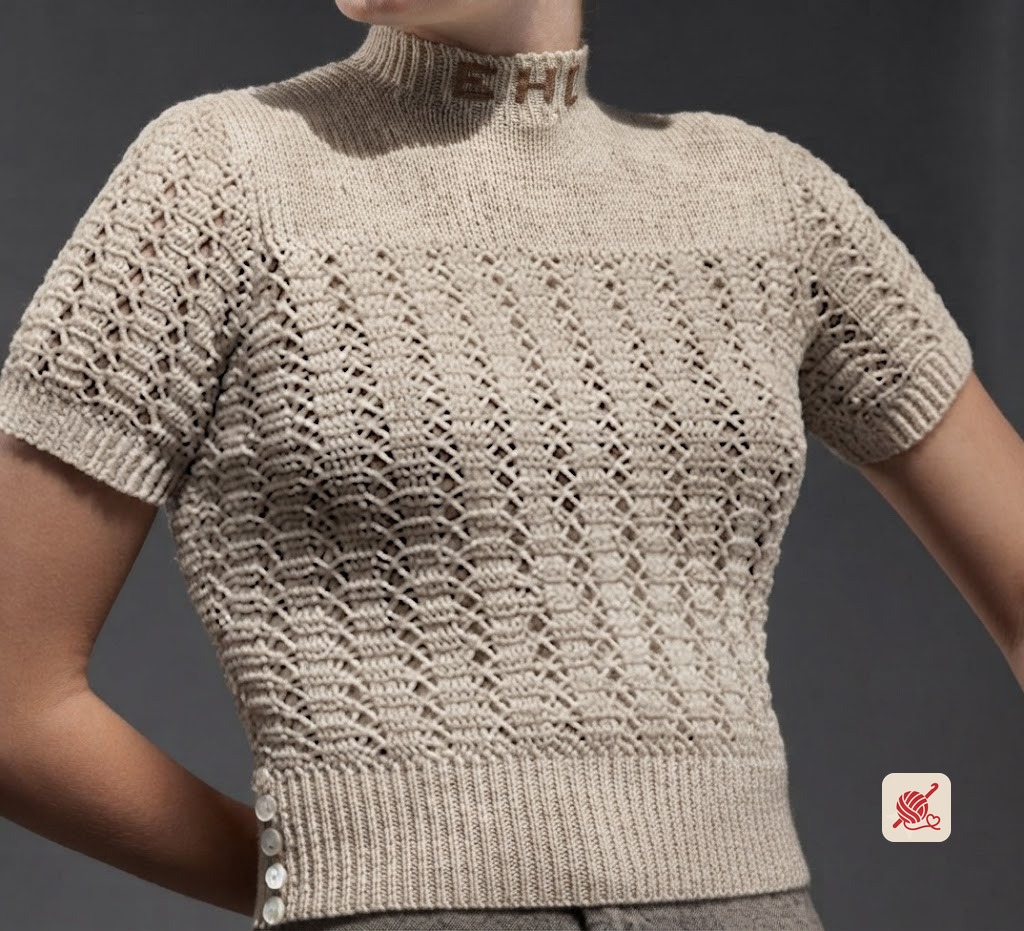
Monogram Pullover Pattern #1064
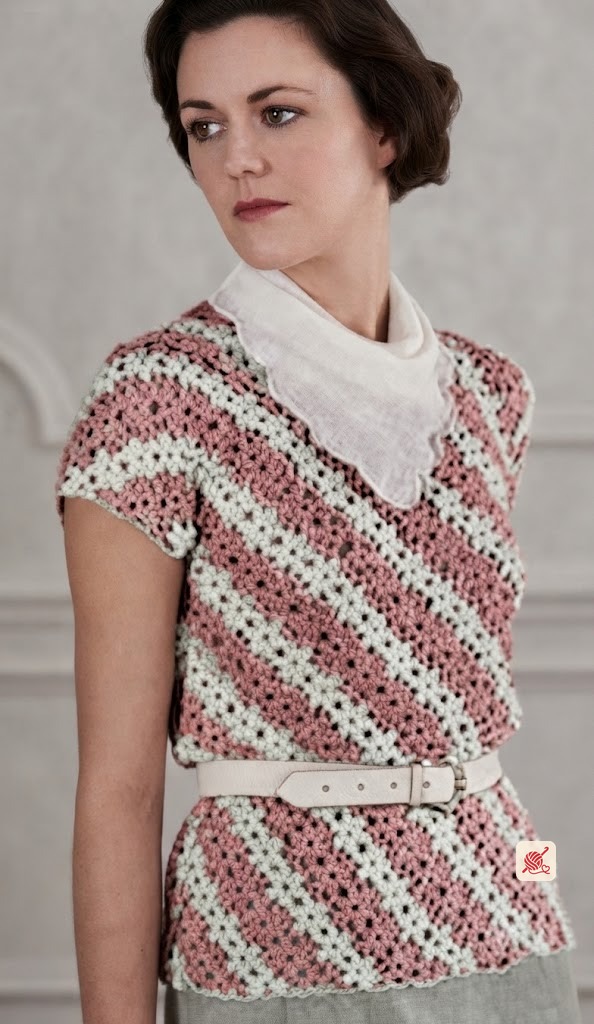
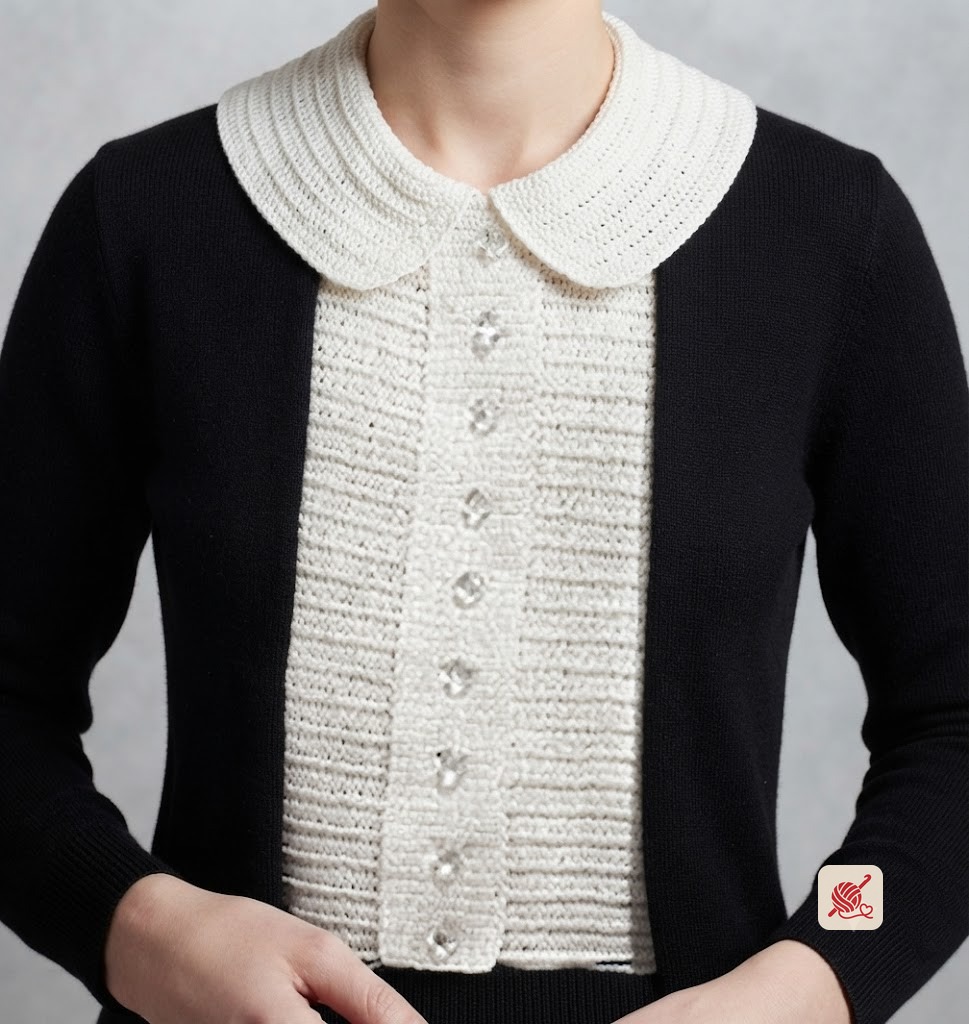
Size 34 monogram pullover in Knit-Cro-Sheen with dc-group and lace-stripe pattern, separate front and back yokes, neck band with buttonholes, and satin-stitch initials. Originally published in Spool Cotton #80, Sweater Fashions.
Materials
- Milward's steel crochet hook · No. 6
Pattern instructions
Materials
Size 34 Materials: J. & P. Coats Knit-Cro-Sheen, 6 balls. Clark's O.N.T. or J. & P. Coats Six Strand, 1 skein of a contrasting color for trimming. Milward's steel crochet hook No. 6. 10 small buttons and 4 larger buttons. Gauge: A dc-group and a lace stripe make 1 inch; 4 rows of dc make 1 inch.
Back
Back. Starting at waistband, ch 31, turn. 1st row: Sc in 2nd ch from hook, sc in each ch across. Ch 1, turn. 2nd row: Sc in each sc across, picking up only the back loop of each sc. Ch 1, turn. Repeat 2nd row until waistband measures 12½ inches without stretching.
Then, working along long side of band, work 124 sc across. Turn and work in pattern as follows: 1st row: Ch 5 (to count as dc and ch-2), sc in next sc of previous row, * ch 2, skip 1 sc, dc in each of next 5 dc, ch 2, skip 1 sc, sc in next sc. Repeat from * across, ending row with ch 2, skip 1 sc, dc in last sc (15 dc-groups in all). Ch 5, turn. Hereafter in working dc-groups, pick up only the back loop of each dc.
2nd row: Dc in 1st dc, * dc in 1st dc of next dc-group, ch 2, dc in same place as dc just made, dc in each of next 4 dc, ch 2, dc in same place as dc just made. Repeat from * across, ending row with dc in 3rd st of turning ch, ch 2, dc in same place as dc just made. Ch 5, turn.
3rd row: * Skip next ch-2 sp, sc between next 2 dc, ch 2, dc in each of next 5 dc, ch 2. Repeat from * across, ending row with ch 2, dc in 3rd st of turning ch. Ch 5, turn. These last 2 rows constitute the pattern.
Repeat these 2 rows alternately, increasing 1 st at both ends of 1 row every inch until there are 17 dc-groups in the row. (To increase 1 st at beginning of row, ch 3, turn and make 1 dc in 1st dc, and continue in pattern across. To increase 1 st at end of row, make 2 dc in last st instead of 1 dc.) Then work in pattern straight until work measures 9 inches from top of waistband.
To Shape Armholes: 1st row: Sl st across 1st dc-group and next lace stripe (1 pattern decreased). Ch 3, and work in pattern across to within last lace stripe and dc-group (another pattern decreased). Ch 3, turn.
2nd row: Dc in last dc of dc-group (½ pattern decreased). Continue in pattern across to within last dc-group (½ pattern decreased). Ch 3, turn.
3rd row: Skip lace stripe and continue in pattern across to within last lace stripe. Ch 3, turn.
Next row: Work in pattern straight. Break off.
Front
Front. Work exactly as for back.
Front Yoke
Front Yoke: Starting at armhole edge, ch 51 (to measure about 5½ inches), turn and work as for waistband but increasing 1 sc at one edge only on every 4th row for 8 times (this edge to form shoulder line), keeping opposite edge perfectly straight.
Then work 2 rows straight (shoulder line should measure 4 inches without stretching, if not work a few more rows straight).
On next row, Starting at straight edge, work sc in each sc to within last 14 sc (this is neck edge). Turn.
Next row: Sl st across 1st 3 sc (3 sts decreased), sc in each sc across. Ch 1, turn.
Then work as before, decreasing 1 sc at neck edge every row until 31 sc remain. Then work straight until straight edge measures 2 blouse front across top edge.
Hereafter increase 1 sc at neck edge every row for 10 times. Then on next row at neck edge, ch 4, turn and work sc in 2nd ch from hook, sc in each ch and in each sc across.
Work another row of sc. Ch 15, turn. Following row: Sc in 2nd ch from hook, sc in each ch and in each sc across. Ch 1, turn.
Hereafter work as before, but decreasing 1 sc at shoulder edge every 4th row for 8 times. Work 1 row straight. Break off.
Back Yoke
Back Yoke: Work as for front yoke until shoulder line measures same as shoulder line of front. Then to shape neck, decrease 1 sc at neck edge every row for 9 times. Then work straight until work measures 6 inches in all.
On the next row, make 3 buttonholes at equal distances apart. (To make a buttonhole, ch 4, skip 4 sc, sc in each sc across; then on the next row, make sc in each sc and in each ch st.) Work another row of sc. Break off. This completes right side of yoke.
For left side of yoke, make another piece same as this, omitting buttonholes.
Assembly
Sew front yoke to front of blouse. Sew back yoke to back of blouse, having buttonholes extend beyond left side. Sew up underarm and shoulder seams.
Neck Band
Neck Band. Ch 15, turn and work 2 rows of sc as for waistband. Next row: Make a buttonhole as before 3 sts in from one edge. Hereafter continue to work as before until neck band is long enough to go around neck edge. Break off. Sew edge of neck band to neck edge, having buttonhole in line with buttonholes of yoke.
Sleeves
Sleeves. Starting at band, ch 13, turn and work as for waistband until work measures 10 inches. Then, working along long side of band work 90 sc across. Hereafter work in pattern as for blouse for 2 inches. Then to shape top of sleeve, decrease 2 pattern at beginning of each row until 2 patterns remain. Break off.
Finishing
Sew up sleeve seams and sew sleeves in. Sew buttons on yoke to correspond with buttonholes. Make 5 ch-8 loops on each side of front waistband. Sew buttons on back waistband to correspond. To trim neck band, work desired initials with the Six Strand, using satin stitch.
Source
This free pattern originally published in Spool Cotton #80, Sweater Fashions