LacePal
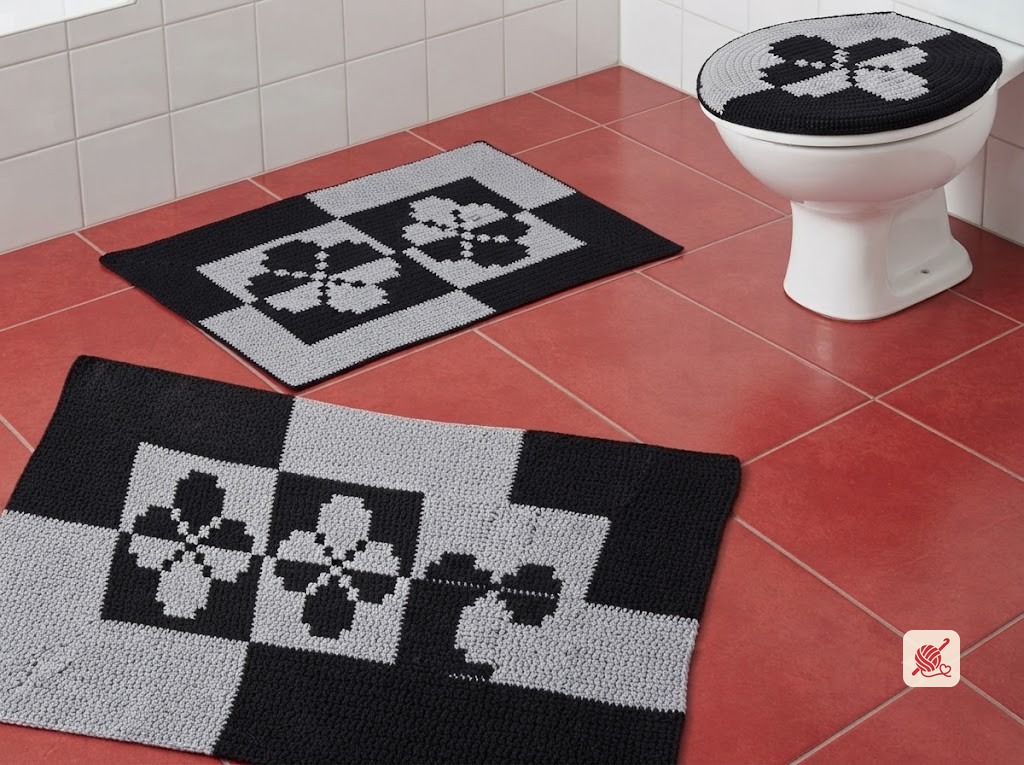
Bathroom Set Pattern #7164
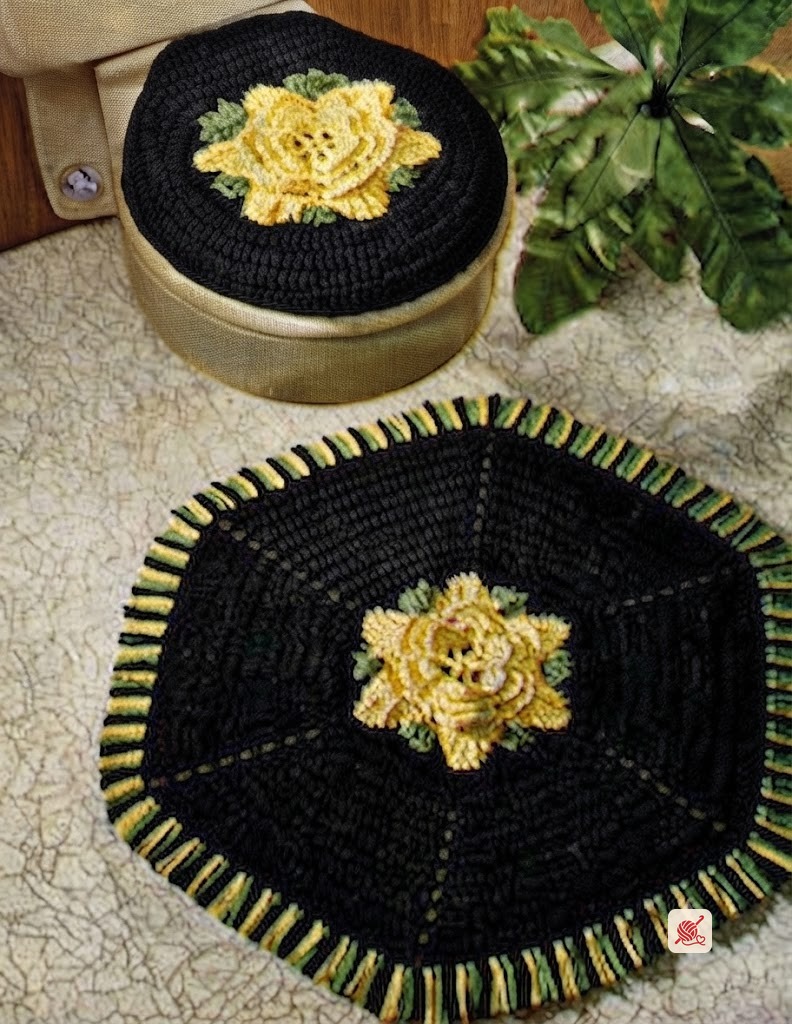
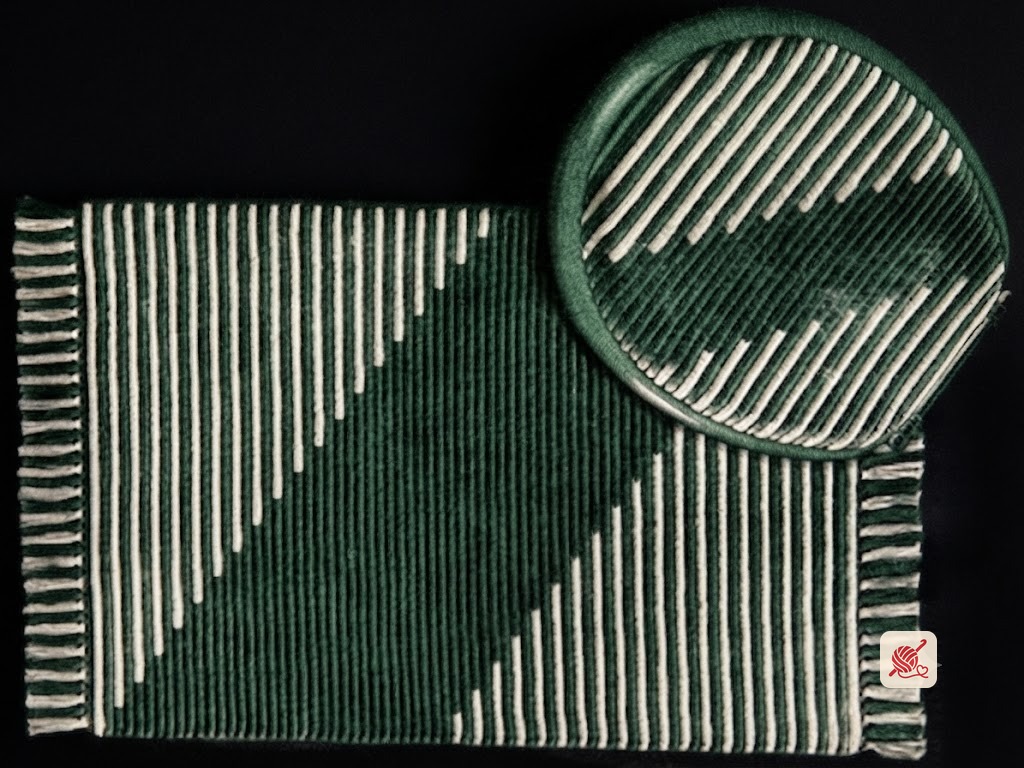
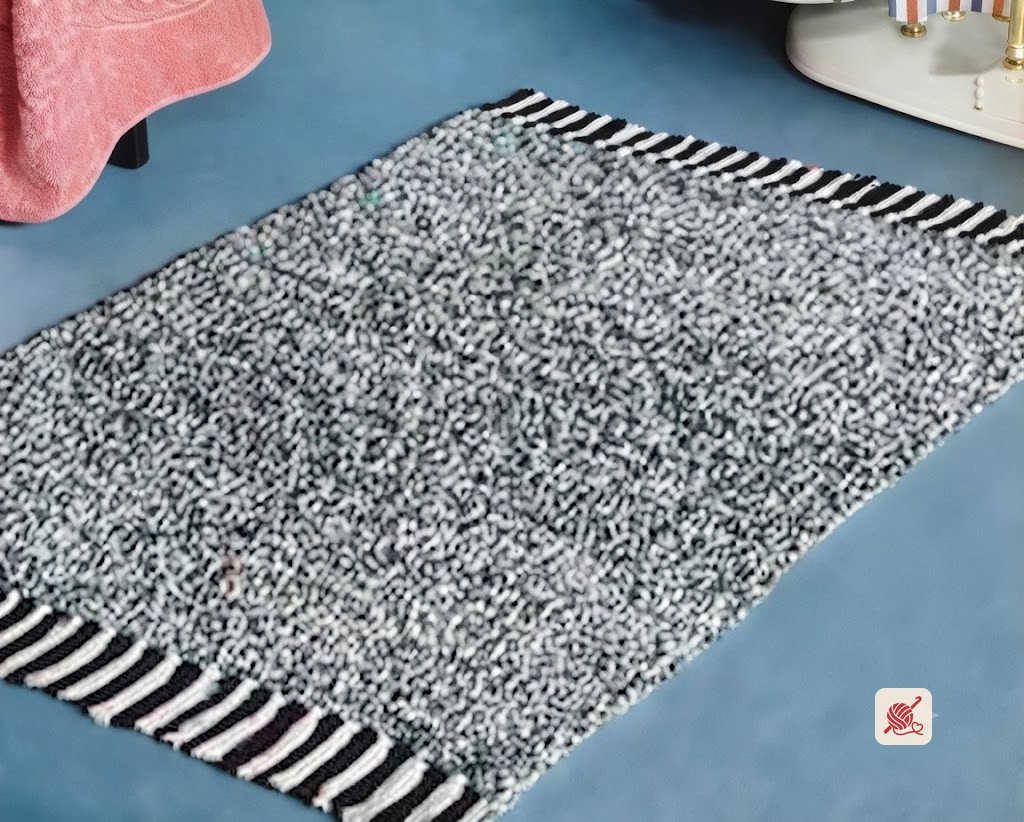
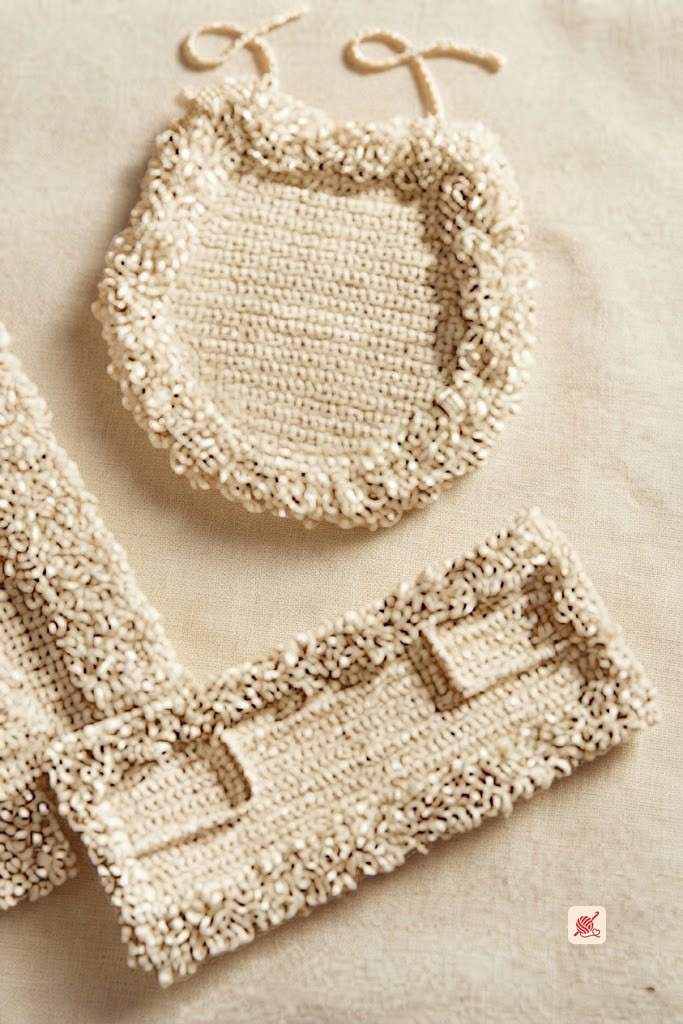
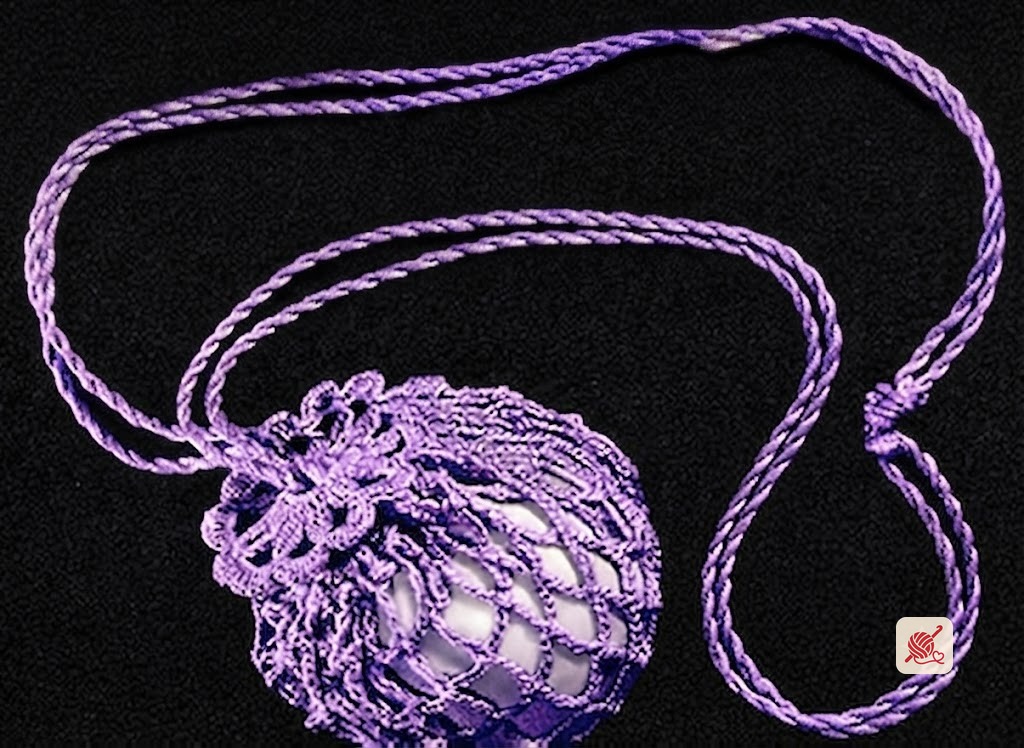
Chart-based vintage bathroom set with two-color bath mat, shaped seat cover with tape casing, and tie backs in J. & P. Coats Knit-Cro-Sheen.
Materials
- Milward's steel crochet hook · No. 6 or 7
Pattern instructions
Bath Mat
When completed, bath mat measures about 24 x 36 inches. Starting at bottom of chart, with dark color ch 120 (about 10 chsts to 1 inch); drop dark color, attach light color and ch 122.
Dc in 4th ch from hook, dc in each of next 118 ch, leaving the last 2 loops of last dc on hook; drop light color, pick up dark color and draw through the remaining 2 loops; continue to make dc in each ch across (120 light dc and 120 dark dc—counting turning ch as 1 dc). Ch 3, turn.
Skip 1st dc, dc in each dark dc, leaving the last 2 loops of last dc on hook; drop dark color, pick up light color and draw through the 2 loops on hook; then make dc in each light dc across, dc in 3rd st of turning ch. Ch 3, turn.
Follow chart for bath mat, starting at 3rd row from bottom, until 26 rows are completed.
Make dc in each light dc, leaving the last 2 loops of last dc on hook; drop light color, pick up dark color and draw through the 2 loops on hook; then, holding light color at top of previous row and working over it in order to conceal it, make dc in each of next 69 dc. Drop light color and continue to make dc in each dc across. Ch 3, turn.
Skip 1st dc, dc in each of next 50 dc, leaving the last 2 loops of last dc on hook; drop dark color, pick up light color and draw through the remaining 2 loops; then make 69 light dc, concealing dark color and leaving the last 2 loops of last dc on hook; drop light color, pick up dark color and work 69 dark dc, concealing light color. Drop dark color. Then, with light color (not working over dark color) make dc in each dc across.
Now follow chart, starting at row marked with arrow, and work to top row to complete design, always concealing unused color.
Seat Cover
Starting at back edge, with light color ch 51; drop light color, attach dark color and ch 53.
Dc in 4th ch from hook, dc in each of next 49 ch, leaving the last 2 loops of last dc on hook; pick up light color and draw through the 2 loops; then make dc in each ch across (51 light dc and 51 dark dc, counting turning ch as 1 dc). Ch 3, turn.
Skip 1st dc, make light dc in each light dc, leaving the last 2 loops of last dc on hook; drop light color, pick up dark color and draw through the 2 loops on hook; then make dc in each dc across, dc in 3rd st of turning ch. Ch 3, turn.
Hereafter follow chart for seat cover, always leaving the last 2 loops of last dc on hook before changing colors, and concealing unused color after 10th row by holding it over top of previous row and working over it; at the same time, make the following increases, starting at 3rd row:
* Inc. 1 dc at both ends of one row and 2 dc at both ends of next row. Repeat from * until there are 158 dc in the row, counting turning ch-3 as 1 dc. (To inc. 1 dc, make 2 dc in 1 dc; to inc. 2 dc, make 3 dc in 1 dc.)
Then inc. 1 dc at both ends of each row until there are 162 dc in the row.
Continue to follow chart, without increasing, to 42nd row incl.
Then * dec. 1 dc at both ends of next row by working off 2 dc as 1 dc, and dec. 2 dc at both ends of following row by working off 3 dc as 1 dc. Repeat from * until 120 dc remain in the row.
Then dec. 3 dc at both ends of each row until 90 dc remain in the row (to dec. 3 dc at beginning of row, make sl st in 1st dc, sc in next dc, half dc in next dc, and make dc across; to dec. 3 dc at end of row, work to within last 3 dc, make half dc in next dc, sc in next dc, and sl st in last dc, turn and sl st to within 1st dc).
Now dec. 6 dc at both ends of each row until 30 dc remain (to dec. 6 dc at beginning of row, sl st in each of 1st 2 dc, sc in each of next 2 dc, half dc in each of next 2 dc; to dec. 6 dc at end of row, work to within last 6 dc, make half dc in each of next 2 dc, sc in each of next 2 dc, sl st in each of last 2 dc, turn and sl st to within 1st dc). Fasten and break off.
Attach dark color at dark end of foundation chain, and work a row of sc closely together around outer dark edge. Break off, attach light color, and continue with sc around to light end of foundation chain, turn.
Now work casing on wrong side (with light color over light section and dark color over dark section—omitting back edge) as follows: Sl st in 1st sc, * ch 4, sl st 1/4 inch in from edge and 1/4 inch to left; ch 4, sl st 1 inch to left of last sl st on sc-row. Repeat from * across. Fasten and break off. Run tape through casing.
Tie Backs
When completed, each tie back measures about 22 x 16 inches. Starting at one end, with light color ch 15; drop light color, attach dark color and ch 17.
Dc in 4th ch from hook, dc in each of next 13 ch, leaving the last 2 loops of last dc on hook; drop dark color, pick up light color and draw through the 2 loops; then make dc in each ch across. Ch 3, turn.
Skip 1st dc, dc in each of next 14 dc, leaving the last 2 loops of last dc on hook; drop light color, pick up dark color and draw through the 2 loops; make dc in each dc across, dc in 3rd st of turning ch. Ch 3, turn.
Hereafter follow chart to complete tie back, concealing unused color after 10th row by holding it over top of previous row and working over it.
Fasten and break off. Fasten tie backs to window frame with push pins.